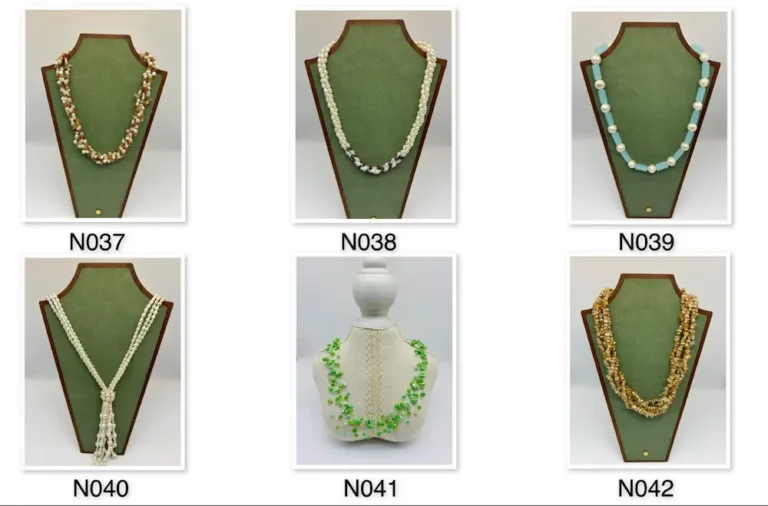
Your grandmother’s pearl necklace shouldn’t just be thrown in a drawer. These lovely gems have been worn by queens for hundreds of years, but they are very delicate. One mistake when cleaning them can ruin their lovely shine forever. The good news is that it only takes a few minutes to learn how to clean pearls the right way, and they will look beautiful forever.
Why Pearls Demand Special Care

Pearls are different from diamonds and sapphires. They all begin as tiny dots inside an oyster, and over time, layers of nacre grow around them. This is how they get their beautiful, shiny color naturally, but it also means they need more care and a specific understanding of how to Clean Pearls because they’re delicate.
Pearls rank only 2.5-4.5 on the Mohs hardness scale. That’s softer than your fingernail! Their porous surface absorbs oils, perfumes, and even perspiration. Without proper maintenance, these gems can lose their luster, turn yellow, or develop permanent stains. But with the right care, they’ll stay beautiful for generations.
Before we get into how to clean pearls, it’s key to know what can harm your pearls:
- Acidic stuff: Things like hairspray, perfume, lemon juice, and vinegar can actually dissolve the layers that make up the pearl.
- Strong chemicals: Bleach, ammonia, and those jewelry cleaners made for tougher stones are too harsh.
- Heat and dryness: Putting them in direct sunlight or keeping them in airtight containers can cause them to crack and turn yellow.
- Things that can scratch: The surface can be damaged by rough cloths, ultrasonic cleaners, and steam cleaning.
- Soaking in water: The silk thread that holds pearl necklaces together can get weak if you leave them in water for too long.
Knowing these risks makes caring for pearls less of a guessing game and more of a careful process. The basic rules for cleaning are the same whether you have more valuable Tahitian pearls or everyday freshwater pearls.
Daily Maintenance: Your First Line of Defense
How to clean pearls starts with what you do after each wear. This simple habit prevents 90% of damage before it occurs.
The After-Wear Wipe-Down
Take thirty seconds to gently wipe your pearls with a soft, damp cloth. Use plain water—no soap yet. This removes body oils, makeup residue, and environmental pollutants before they penetrate the nacre. Think of it as brushing your teeth before bed. Skip it once, and you’ll probably be fine. Skip it regularly, and you’re courting disaster.
Store your pearls only after they’ve dried completely. Moisture trapped against the nacre encourages yellowing and weakens silk threading in necklaces and bracelets.
The 7-Step Deep Cleaning Method
When your pearls look visibly dingy or it’s been several months since their last thorough cleaning, follow this professional-grade process on how to clean pearls:
Step 1: Inspect Before You Clean
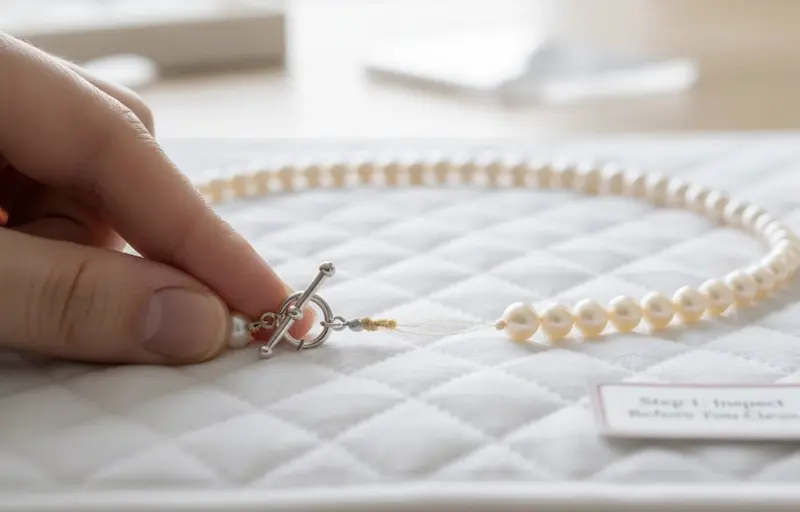
Lay your pearl jewelry flat on a soft towel. Check for:
- Loose clasps or fastenings
- Stretched silk thread (visible gaps between pearls)
- Damaged or missing knots
- Discolored threading
If you spot serious issues, skip the home cleaning and head straight to a professional jeweler. Cleaning damaged pearl strands can cause them to break entirely.
Step 2: Prepare Your Cleaning Solution
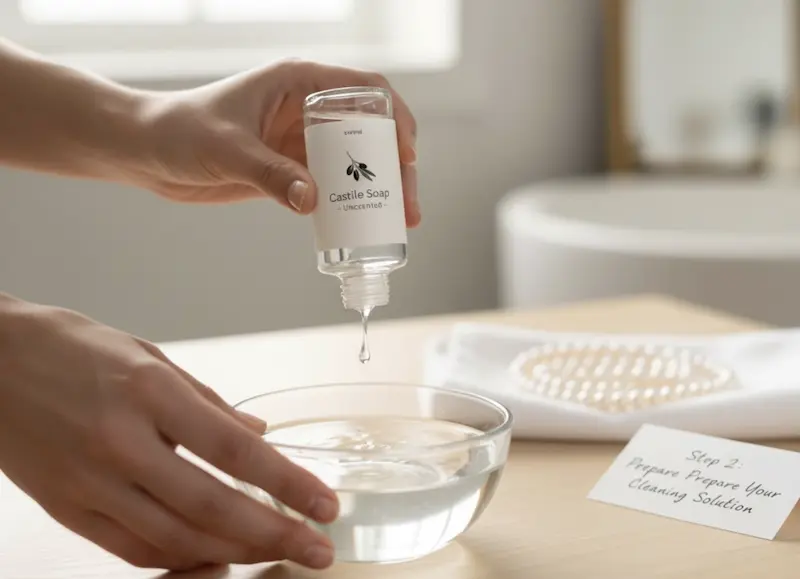
Add two drops of mild, unscented dish soap to lukewarm water (never hot). The solution should not feel very slippery. Using too much soap will leave a film on the pearls that makes them look dull. Ivory soap or pure Castile soap are both great for this.
The Gemological Institute of America says that using the mildest cleaning products will keep the nacre’s structure while getting rid of dirt on the surface. This is a key principle of how to clean pearls effectively.
Step 3: The Gentle Wipe Technique
Dip a soft white cotton cloth into your soapy solution. Wring it out thoroughly—it should be damp, not dripping. Gently wipe each pearl individually, using minimal pressure. For necklaces, work from one end to the other, cleaning one pearl at a time.
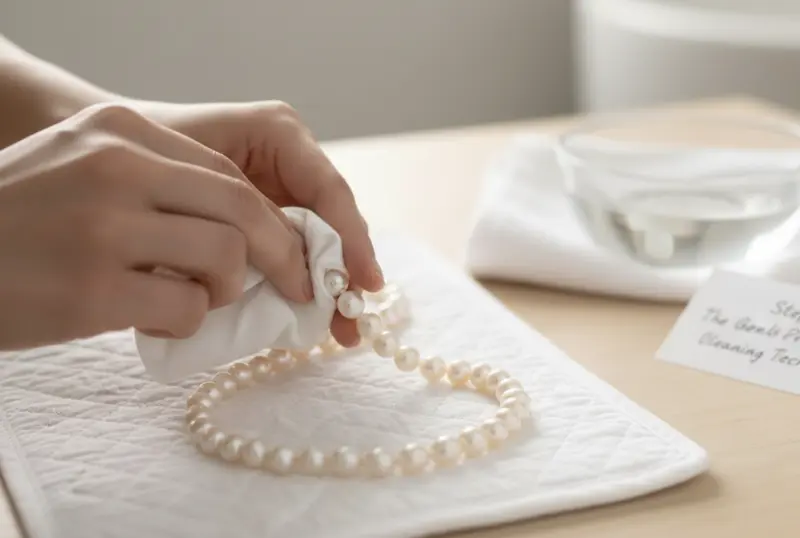
Critical warning: Never submerge pearl necklaces or bracelets in water. The moisture seeps into the silk thread, causing it to stretch and weaken. Within weeks, you could find your precious pearls scattered across the floor.
Step 4: Rinse Away the Soap
Take a second soft cloth dampened with clean water (no soap). Carefully wipe each pearl again to remove all soap residue. Any remaining soap will dry on the surface and create a cloudy film that’s difficult to remove later.
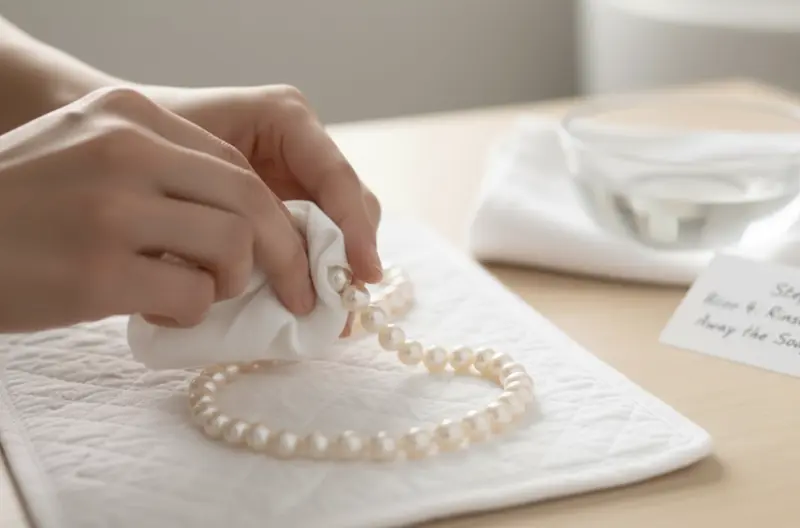
This rinse step separates amateur pearl cleaning from professional results. Rush it, and you’ll undo all your careful work.
Step 5: The Drying Process
Use a soft, lint-free cloth to gently pat each pearl dry. Next, put your pearls on a clean, dry towel and let them air dry completely. This could take a few hours, especially for necklaces, because moisture can get stuck between the pearls.
Resist the temptation to speed things up with a hairdryer or by placing pearls in sunlight. Heat damages the nacre and can cause the natural adhesives holding the pearl together to deteriorate.
Step 6: Check Your Work
After they’ve dried, look at your pearls in natural light. There shouldn’t be any soap or water spots on them, and they should look shiny and clean. If they still look dull, wash and dry them again.
Step 7: Store Properly
Place your cleaned pearls in a fabric-lined box or soft pouch—never plastic bags, which trap moisture. Store them flat, not hanging, to prevent thread stretching. The storage area should have normal humidity levels; too dry causes cracking, while too damp promotes yellowing.
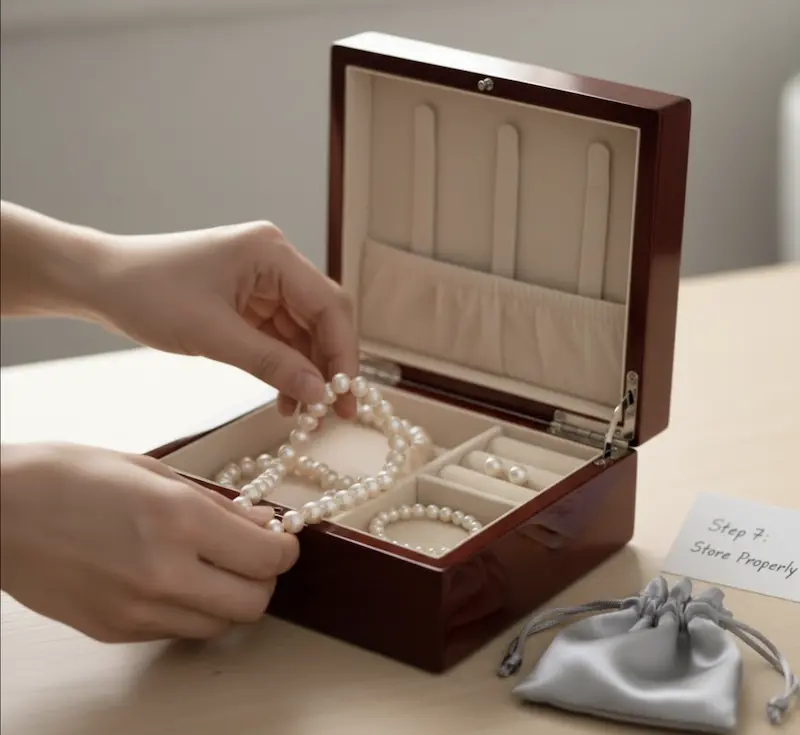
Interestingly, pearls actually benefit from regular wear. The oils from your skin provide just enough moisture to keep them from drying out. That vintage strand in your jewelry box? It needs to see daylight occasionally!
Special Situations: When Basic Cleaning Isn’t Enough
Yellowed Pearls: Prevention and Treatment
Pearl yellowing happens when the organic materials in the nacre dehydrate. Once yellowing occurs, it’s usually permanent. Prevention works better than cure:
- Wear your pearls regularly (at least monthly)
- Store them with a damp cloth nearby if you live in a dry climate
- Avoid keeping them in safety deposit boxes or other low-humidity environments
If your pearls have already yellowed, professional restoration offers your best hope. Some specialists can lighten the discoloration, though they cannot fully reverse it. When sourcing new pieces from a Pearl Manufacturer, ask about proper storage to prevent future yellowing.
Stubborn Stains and Spots
Don’t scrub harder or use harsh chemicals if gentle soap and water don’t get rid of the stains. Take your pearls to a jeweler instead. You can’t get the cleaning solutions and methods they use at home.
Never attempt to use:
- Baking soda (too abrasive)
- Vinegar (acidic and dissolves nacre)
- Nail polish remover (destroys the pearl surface)
- Toothpaste (abrasive particles scratch)
- Commercial jewelry cleaners (designed for harder gemstones)
The Smart Pearl Wearing Guide
How to clean pearls matters less when you prevent damage in the first place. Follow these wearing guidelines from industry experts:
Put Pearls On Last, Take Them Off First
Apply your makeup, perfume, and hairspray before putting on your pearls. These products contain chemicals that attack the nacre, making regular attention to how to clean pearls even more crucial. Even a quick spritz of perfume can cause permanent damage if it hits your pearls directly.
The secret to how to clean pearls is mostly prevention. Take them off the moment you walk in the door—before you wash your hands, shower, or start with the evening creams.
Know When to Leave Them Home
Skip your pearls during:
- Swimming (chlorine destroys pearls)
- Gardening or housework (exposure to dirt and chemicals)
- Exercise (perspiration is acidic)
- Cooking (heat and food acids)
- Beach days (sand scratches, salt and sun damage)
It sounds strict, but nacre is fragile. Treat them like the organic gems they are, and they will stay beautiful long enough to become heirlooms.
Professional Maintenance Schedule
Even if you take great care of your pearls at home, they still benefit from a professional cleaning now and then. Here’s how often experts recommend you do the next step in mastering how to clean pearls:
| Frequency | Service | Why It Matters |
|---|---|---|
| Every wear | Wipe with soft cloth | Removes surface oils and contaminants |
| Monthly | Gentle soap cleaning | Deep cleans accumulated residue |
| Yearly | Professional inspection | Checks thread integrity and clasps |
| Every 1-2 years | Restringing | Prevents thread failure and loss |
Jewelers can also do special things to make dull pearls shine again. They can also find problems you might not see, like a thread that is getting weaker, which could save your pearls from being lost.
Common Pearl Cleaning Mistakes to Avoid
To learn how to clean pearls, you have to forget some common ways to care for jewelry:
- Mistake #1: Cleaning with ultrasonic cleaners These devices make vibrations that can break pearls or pull them off their mounts. Use ultrasonic cleaning only on harder gemstones.
- Mistake #2: Storing pearls with other jewelry. Diamonds, sapphires, and even gold chains can scratch the soft surface of your pearls. Always keep pearls in a separate soft pouch.
- Mistake #3: Cleaning too much Cleaning too much can actually take away protective oils and wear down the nacre over time. Only clean when you need to. A visual inspection will tell you when that is.
- Mistake #4: Hanging pearl necklaces. The silk thread in pearl necklaces gets stretched by those cute jewelry trees. Always keep pearl strands flat.
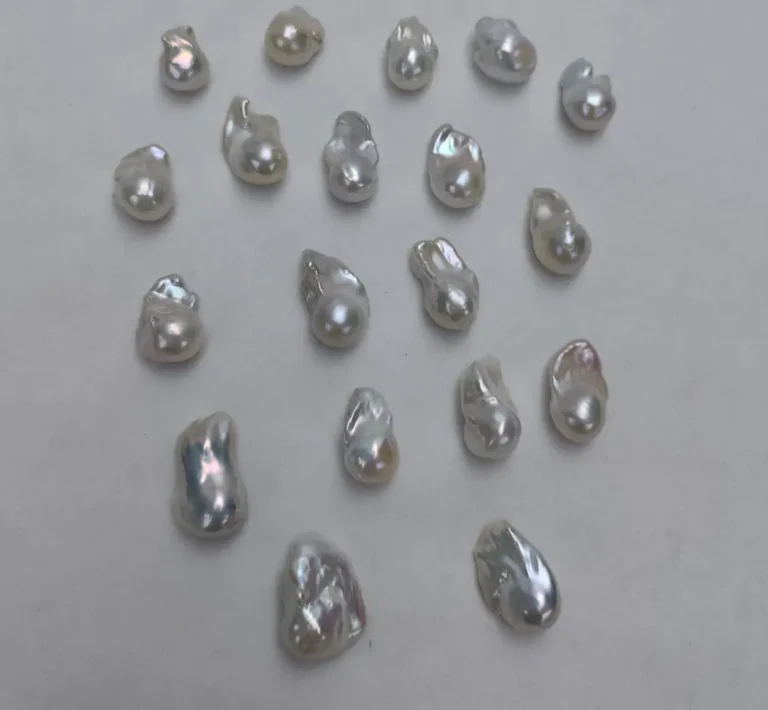
- Mistake #5: Thinking that all pearls clean the same While basic principles apply universally, some pearls have special needs. Dyed pearls need to be handled more carefully, and baroque pearls have more dirt in their crevices because their surfaces are uneven.
FAQs of Pearl Care
Can I wear pearls in the shower?
No. Shower water contains chemicals, and the moisture weakens pearl necklace threads. Remove all pearl jewelry before bathing.
How often should I clean my pearl earrings?
Pearl earrings need wiping after each wear and deep cleaning monthly if worn frequently. Since they’re not strung, you can be slightly less cautious than with necklaces—but still gentle!
Do real pearls need moisture?
Yes! Unlike most gemstones, pearls contain water and organic materials. They actually benefit from body oils during wear. Ironically, the best way to keep pearls healthy is to wear them regularly.
When should I restring my pearl necklace?
If you wear your pearls often, get them restrung every 1-2 years. If you only wear them occasionally, every 2-3 years is fine. But if you notice gaps between the pearls or the thread is discolored, get them restrung right away!
What jewelry cleaner is safe for pearls?
You should avoid most commercial jewelry cleaners; they are too harsh and will damage the pearl’s surface. The only safe option is a cleaner that is specifically made and labeled “Safe for Pearls.” Otherwise, the best method is simply a soft cloth and water.
Final Thoughts on Pearl Perfection
When you learn how to clean pearls the right way, they go from being fussy accessories to reliable favorites that you can wear all the time. It doesn’t take much effort or time; just consistent and correct care will do the trick.
You know, your pearls spent ages growing inside an oyster, then traveled across the sea to end up with you. They’ve already had quite the journey! If you take good care of them and store them properly, they’ll last for years, becoming even more meaningful each time you wear them.
When in doubt, be more gentle than you think you need to be. Pearls are much more forgiving of not being cleaned enough than of being cleaned too much. Begin with the most gentle touch and the least strong solutions. This careful method keeps your pearls looking beautiful for many years.
Those shiny gems deserve to see more daylight now that you know how to clean pearls the right way. The best way to take care of pearls is to wear them often, but you should always clean them afterward!

